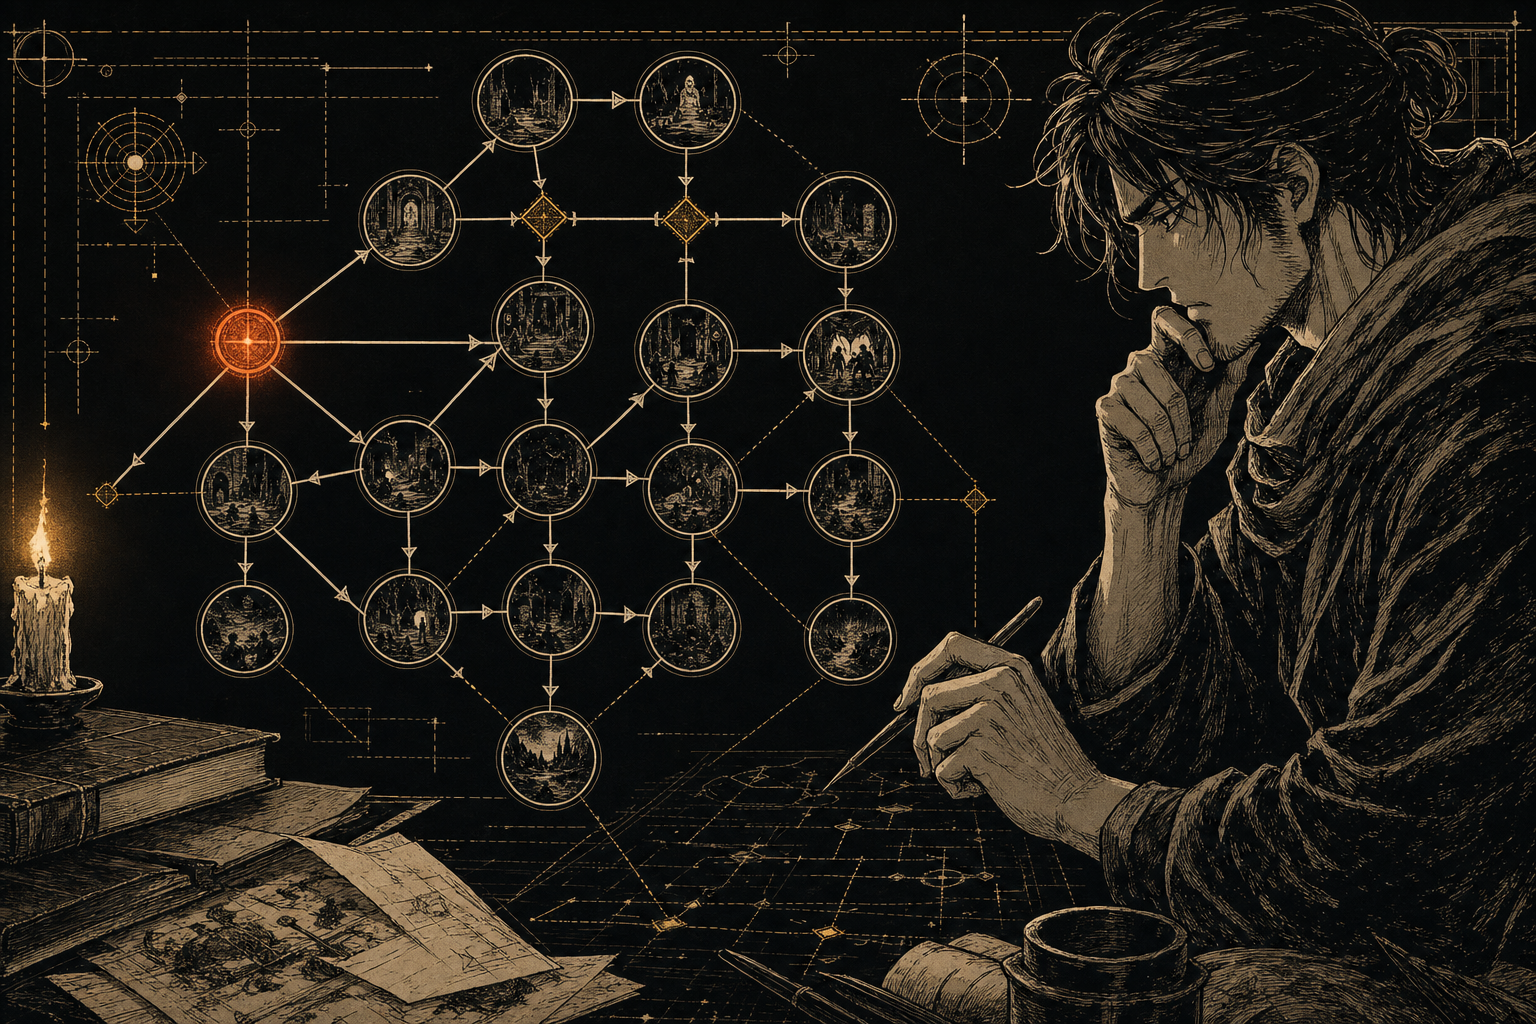
The hardest part of building a choose-your-own-adventure game isn't the writing - it's keeping track of the branches. When your story splits into two paths, then four, then eight, a text document falls apart fast. You lose scenes, forget which choice leads where, and discover dead ends only after a player finds them first.
That's why Dungeon Mastron uses a visual node builder. You build your story as a map - nodes are scenes, lines are choices - so the whole structure is visible at a glance. This post is a hands-on walkthrough. In about ten minutes you'll have a tiny working game you can play and share.
What we're building
We're going to make a micro-adventure called The Locked Room. It's deliberately small - five scenes - so you can finish it in one sitting and understand every part of the tool.
The premise: you wake up in a locked room with a desk, a window, and a door. That's it. Three choices, a couple of branches, two endings. Small enough to hold in your head, big enough to learn the builder.
Open the Visual Builder in another tab so you can follow along. It's free, runs in your browser, and needs no account.
Step 1: Create the opening scene
When the builder loads you'll see an empty canvas with a single node labeled something like "Start." Click it. A panel opens where you edit the scene.
In the Scene Text field, write the opening:
You wake up on a cold floor. The room is bare: a wooden desk, a shuttered window, and a heavy iron door. Your head aches. You don't remember how you got here.
Keep scene text short. Fifty to a hundred words is the sweet spot. Players are here to choose, not to read a novel. If a scene goes longer than a tweet, it's probably two scenes in disguise.
Click Save Scene. The node now shows a preview of your text.
Step 2: Add the first choices
Every scene needs at least one choice, or it's a dead end. Click Add Choice in the scene panel.
For our opening, add three choices:
- "Check the desk"
- "Try the window"
- "Open the door"
Each choice has two parts: the text the player sees, and the target scene it leads to. Right now we don't have other scenes, so leave the targets blank. We'll connect them in a moment.
Click Save Scene again. You'll see three little handles sticking out of the node - one for each choice. Those are the connection points.
Step 3: Build the branch scenes
Now create the scenes those choices lead to. Double-click on an empty part of the canvas to make a new node.
Scene: Check the desk
The desk has one drawer. Inside is a brass key and a folded note: "The window is a trap. Trust the door." You pocket the key.
Add one choice: "Go back" - target it back to the Start scene. (Yes, loops are allowed. They're useful.)
Scene: Try the window
The shutters crumble in your hands. Behind them is solid brick. Whoever put you here wasn't taking chances.
Add one choice: "Go back" - target back to Start.
Scene: Open the door
The door is locked. There's a keyhole the size of the brass key from the desk.
Add two choices:
- "Use the key" (leave target blank for now)
- "Go back" (target back to Start)
Step 4: Connect the nodes
This is where the visual part shines. Click and drag from a choice handle on one node to another node. Draw lines from:
- Start's "Check the desk" → the desk scene
- Start's "Try the window" → the window scene
- Start's "Open the door" → the door scene
- Each "Go back" choice → back to Start
The canvas now shows your whole story as a map. You can spot problems instantly: orphaned scenes with no connections, loops that don't make sense, choices that go nowhere. In a text file these errors hide. On a canvas they glow.
Step 5: Add the endings
Every story needs to end. Create two final scenes.
Scene: Freedom
The key turns. The door swings open onto a long hallway lit by warm sunlight. You step through, not looking back.
Scene: Wrong turn
You keep searching, but the room offers nothing else. Hours pass. Eventually, you hear footsteps outside the door.
Connect "Use the key" on the door scene to Freedom. That's your good ending.
For the bad ending, add a new choice to the Start node: "Wait and see what happens." Connect it to Wrong turn.
Now your map has a start, three branches, two loops back, and two endings. Five scenes total. Play it through in your head once: every path should make sense.
Step 6: Test it
Click the Play button in the builder. It loads your game in the Web Player right there in the same tab. Click through every path - yes, all four of them. Make sure:
- Every choice goes to the right scene
- There are no dead ends (except the endings)
- The endings feel like endings
If something's wrong, close the player and fix it on the canvas. The loop between editing and testing should take seconds, not minutes.
Step 7: Save and share
Click Export and download your game.json file. That single file is your entire game - back it up, email it, post it. Anyone can drop it into the Web Player and play it.
If you want to edit later, just drag the same file back onto the builder canvas. Your whole map reappears exactly as you left it.
What to do next
This five-scene example fits in your head. A real game won't. Here are three habits that keep bigger projects from turning into spaghetti:
Name your scenes. Double-click a node title and give it a real name like "desk_scene" or "bad_ending." When you have thirty nodes, "Scene 17" is useless.
Use the branch-and-merge pattern. Let paths split, then bring them back together. Our example loops back to Start - that's a merge. For a bigger game, merges prevent exponential growth. We wrote about this in detail in our branching structure guide.
End on choices, not explanations. Every scene should build pressure that the choices release. If a scene resolves the tension and then offers a choice, the choice feels fake.
Going further
The builder can do more than this walkthrough covers: variables that track what the player found, conditional choices that only appear if certain conditions are met, and scene images for atmosphere. But the core loop - node, text, choice, connection - is always the same. Master the five-scene version first. The rest is frosting.
If you'd rather start with a full game and edit it down, the AI Companion template can generate a complete game file from a short description. Paste it into ChatGPT or Claude, get back a working game.json, then open it in the builder and start reshaping the map.
And if you want to see what a finished small game looks like, browse the library. Most of the games there started as experiments smaller than the one you just built.
Ready to try it? Open the Visual Builder and build your first five-scene game. If you get stuck, the Discord is full of people who remember what their first node looked like.
Build your own story game
The Visual Builder is free, open source, and runs in your browser. No account needed.
Open the Visual Builder