You don't need to know how to program to make a branching story game. You need one decent idea, an hour or two, and a tool that gets out of your way. This tutorial walks you from a blank page to a game your friends can play in their browser – using Dungeon Mastron's free Visual Builder, which runs entirely in your browser with nothing to install and no account required.
Step 1: Start with one strong situation, not a whole world
The most common way people fail at their first choose-your-own-adventure (CYOA) game is by starting too big. A hundred-node epic with three kingdoms and a magic system will collapse under its own weight before you finish the second chapter.
Instead, start with a situation – a moment with pressure built in. Some examples that work well at small scale:
- You wake up on a night train and your bag is gone. The train stops in 20 minutes.
- A lighthouse keeper finds a rowboat washed ashore with a locked box inside.
- Your ship's AI has started lying to you, and you're three months from home.
Notice what these have in common: a clear protagonist, an immediate problem, and an obvious first choice. If you can't imagine the first two choices the player faces, the idea isn't ready yet.
Step 2: Sketch the branching map on paper first
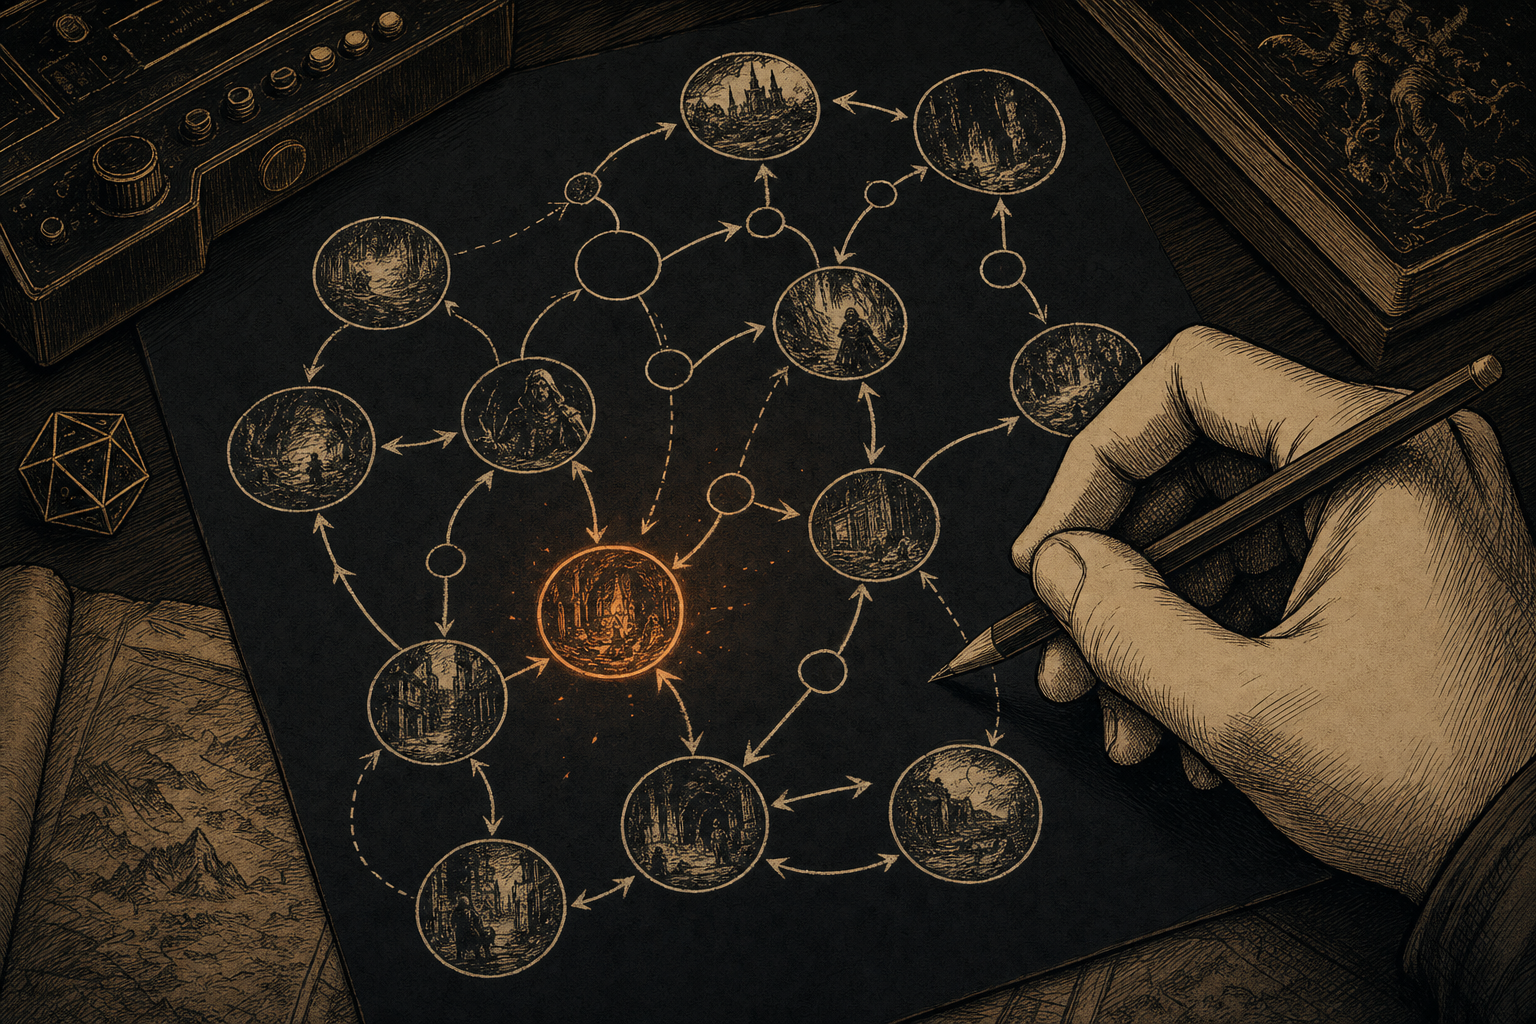
Before you touch any tool, draw circles and arrows on paper (or a whiteboard, or a notes app). Each circle is a scene – a chunk of story the player reads. Each arrow is a choice.
A good first game has roughly 15–30 scenes. That sounds small, but branching multiplies fast: a story that branches twice at every scene needs over a thousand scenes to go ten choices deep. Nobody writes that, and nobody needs to. The trick professionals use is the branch-and-merge structure:
- The story splits into two or three paths at a decision point.
- The paths play out differently for a scene or two.
- They merge back into a shared spine – but the player carries a consequence forward (an item, an injury, a suspicious ally).
This keeps the writing workload sane while still making choices feel like they matter. If you want to go deeper on making consequences interesting, we wrote a whole essay on it: Wounds, Not Death.
Step 3: Build it in the Visual Builder
Open the Visual Builder. You'll see a node canvas – this is your paper sketch, made real. The workflow is:
- Create a scene node for your opening. Write the scene text – aim for 50–150 words per scene. Short scenes keep momentum; players are choosing, not reading a novel.
- Add choices to the node. Each choice is a line of text ("Force the lock" / "Wait and listen") plus an arrow to the scene it leads to.
- Drag connections between nodes. The canvas shows your whole story as a map, so orphaned scenes and dead ends are visible at a glance – this is the big advantage of a visual builder over writing branches in a document.
- Mark your endings. Aim for 3–6 distinct endings in a first game. At least one should be genuinely good, at least one genuinely costly, and the rest somewhere in between.
Everything saves as a single portable game.json file. That file is your game – you can back it up, share it, version it, or hand-edit it later. No lock-in, no proprietary format.
Writing tips that make scenes land
- Write in second person, present tense. "You step onto the platform" pulls the player in; "Sarah stepped onto the platform" holds them at a distance.
- End every scene on the choice. Don't resolve tension in the scene text and then ask a limp question. The scene builds pressure; the choices release it.
- Make choices differ in kind, not degree. "Attack with sword" vs "Attack with axe" is a fake choice. "Attack" vs "Bluff" vs "Run" is a real one.
Step 4: Playtest ruthlessly
Load your game.json into the Web Player and play every path – yes, every path. You're looking for three kinds of bugs:
- Broken links: choices that go nowhere or to the wrong scene.
- Continuity errors: the player picks up the lantern on one path but a merged scene assumes they don't have it.
- Boring stretches: two or more scenes in a row with no meaningful choice. Cut or compress them.
Then hand it to one friend and watch them play without talking. Where they hesitate, your choice text is unclear. Where they skim, your scenes are too long. One silent playtest teaches you more than ten rounds of self-editing.
Step 5 (optional): Let AI draft, you direct
If drafting prose is the part that stalls you, Dungeon Mastron has an AI Companion template: you paste a structured prompt into ChatGPT or Claude, describe your premise, and get back a complete playable game file you can then edit in the builder. It's a genuinely fast way to get a first draft – with real caveats about what AI does and doesn't do well, which we cover honestly in this guide.
The best workflow we've found: AI generates the skeleton, you rewrite the scenes that matter. The opening, the endings, and the two or three pivotal choices deserve human sentences.
What about other tools?
Dungeon Mastron isn't the only way to do this – Twine has been the beloved standard for interactive fiction for over a decade, and it might suit you better depending on what you're making. We wrote an honest side-by-side: Twine vs Dungeon Mastron.
Your first game will be small. That's the point.
A finished 20-scene game that three people actually play is worth infinitely more than an abandoned epic. Finish something tiny, learn what choices feel good, then build the bigger thing. Want to see what finished small games look like? Play the featured games – none of them are huge, and all of them work.
Ready to build? Open the Visual Builder – free, in your browser, no signup. If you get stuck or want feedback on your branching map, the Discord is friendly to first-timers.
Build your own story game
The Visual Builder is free, open source, and runs in your browser. No account needed.
Open the Visual Builder